cocos2d-x 勉強第7回「アニメーションgifって使えるの?」
今回の課題
Unityの時にも試したのですが、WEBっ子である自分は、画像に動的な演出を加えたい場合「アニメーションgif」が真っ先に想定する手法です。
この感覚が通用するのかどうかが、ゲーム制作進行において少しだけ重要なので、Unityよろしく確認させていただきます!
ちなみに、Unityさんはアニメーションgifをアニメーションgifそのままとして扱うことができずに、
分解して切り替えていくという手法で対応(Unity勉強 第5回 「アニメーションgifって使えるの?」)しました。
cocos2d-xではどのような対応になる感じかワクワクしますな!
下準備、下調べ
素材の用意
 今回使用する画像は、これで!
ぐぐってみる
cocos2d-x animation gif - Google検索
うむ。どうやら対応していないような気がする…。
とりあえず試して見よう。
auto sprite = Sprite::create("miku.gif");
sprite->setPosition(Point(visibleSize.width/2 + origin.x, visibleSize.height/2 + origin.y));
this->addChild(sprite, 0);
ビルド!
cocos2d: Assert failed: unsupport image format!
おっふ…。
アニメーションgifに対応していないのか?と思ったら、
not supported. Only png & jpeg is allowed
(智史之介訳: pngかjpegしか使えないけど?)
まじか。
じゃあどうやって画像をアニメーションさせればいいのか
パターン①:複数の画像を切り替えて表示
いわゆる、パラパラアニメ方式です。
ImageMagickを用いてアニメーションgifを分割&pngに変換
$ convert +adjoin -coalesce miku.gif miku-notanimated.png
$ ls -1 | grep notanimated
miku-notanimated-0.png
miku-notanimated-1.png
miku-notanimated-2.png
miku-notanimated-3.png
HelloWorldScene.cpp
bool HelloWorld::init()
{
    // snip...
     Sprite *miku = Sprite::create("miku-notanimated-0.png");
    miku->setPosition(Point(visibleSize.width/2 + origin.x, visibleSize.height/2 + origin.y));
    this->addChild(miku);
     // 続くパラパラアニメを登録
    Animation *animation = Animation::create();
    animation->addSpriteFrameWithFileName("miku-notanimated-1.png");
    animation->addSpriteFrameWithFileName("miku-notanimated-2.png");
    animation->addSpriteFrameWithFileName("miku-notanimated-3.png");
    animation->setRestoreOriginalFrame(true);   // 最初の画像に戻すかどうか
    animation->setDelayPerUnit(0.5f / 4.0f);
     // パラパラアニメを動かす
    Animate *animate = Animate::create(animation);
    RepeatForever *animated = RepeatForever::create(animate);
    miku->runAction(animated);
     // snip...
}
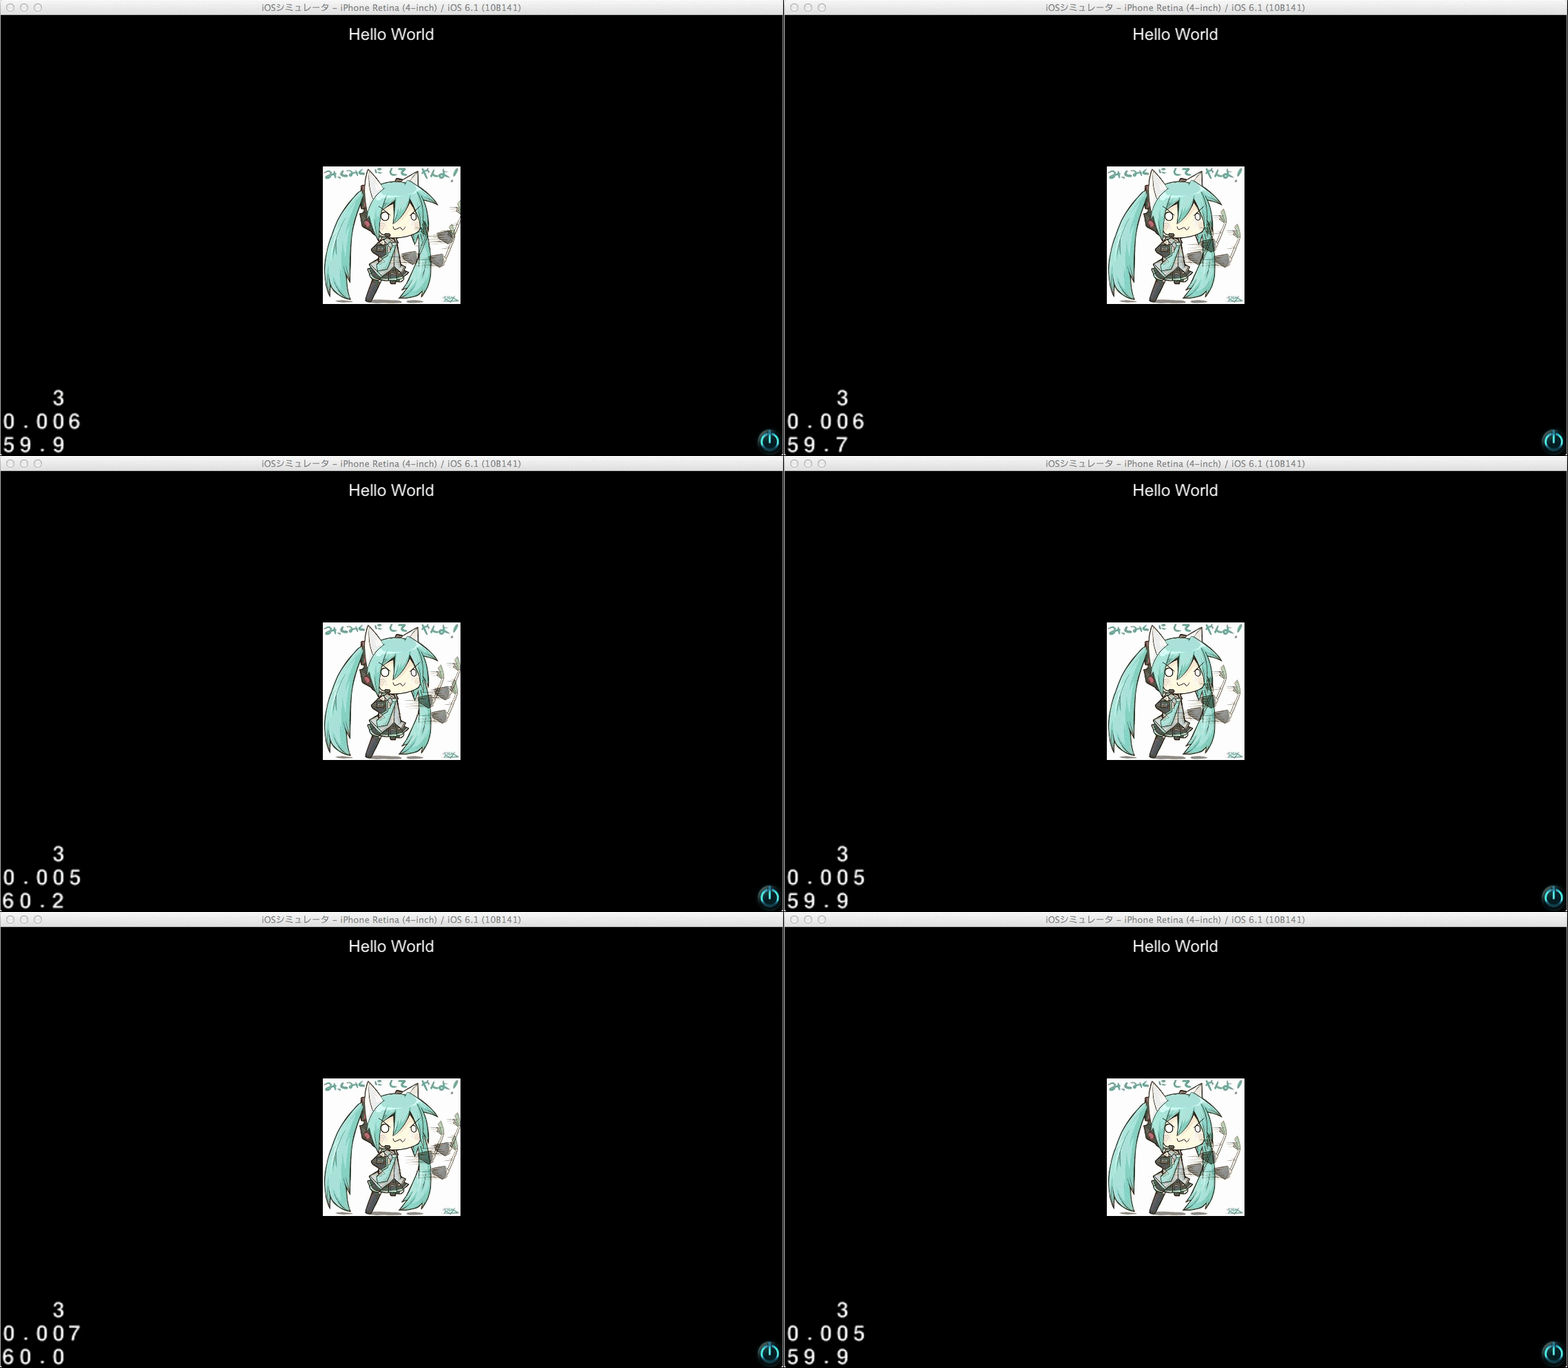
動作イメージ

パターン②:1枚の画像の表示領域を切り替えていく
原理的には「パターン①」のパラパラアニメと変わらないんですが、こちらは1枚の画像にアニメーションパターンを網羅するやり方です。
分解されたアニメーション画像を一つに統合
$ convert +append miku-notanimated-[0-3].png miku-tiled.png

こんな感じな画像を用意します。
HelloWorldScene.cpp
bool HelloWorld::init()
{
    // snip...
     Sprite *miku = Sprite::create();
    miku->setPosition(Point(visibleSize.width/2 + origin.x, visibleSize.height/2 + origin.y));
    this->addChild(miku);
     // パラパラアニメを登録
    const int IMAGE_SIZE = 200;
    Animation *animation = Animation::create();
    animation->setDelayPerUnit(0.5f / 4.0f);
    for (int i = 0; i < 4; i++ ) {
        animation->addSpriteFrame(SpriteFrame::create("miku-tiled.png", Rect(IMAGE_SIZE * i, 0, IMAGE_SIZE, IMAGE_SIZE)));
    }
     // パラパラアニメを動かす
    Animate *animate = Animate::create(animation);
    RepeatForever *animated = RepeatForever::create(animate);
    miku->runAction(animated);
     // snip...
}
注目すべき点は、
Sprite *miku = Sprite::create()でspriteを空で生成している点SpriteFrame::create("miku-tiled.png", Rect(x, y, width, height))で画像を領域で切り取っている点
でしょうか。
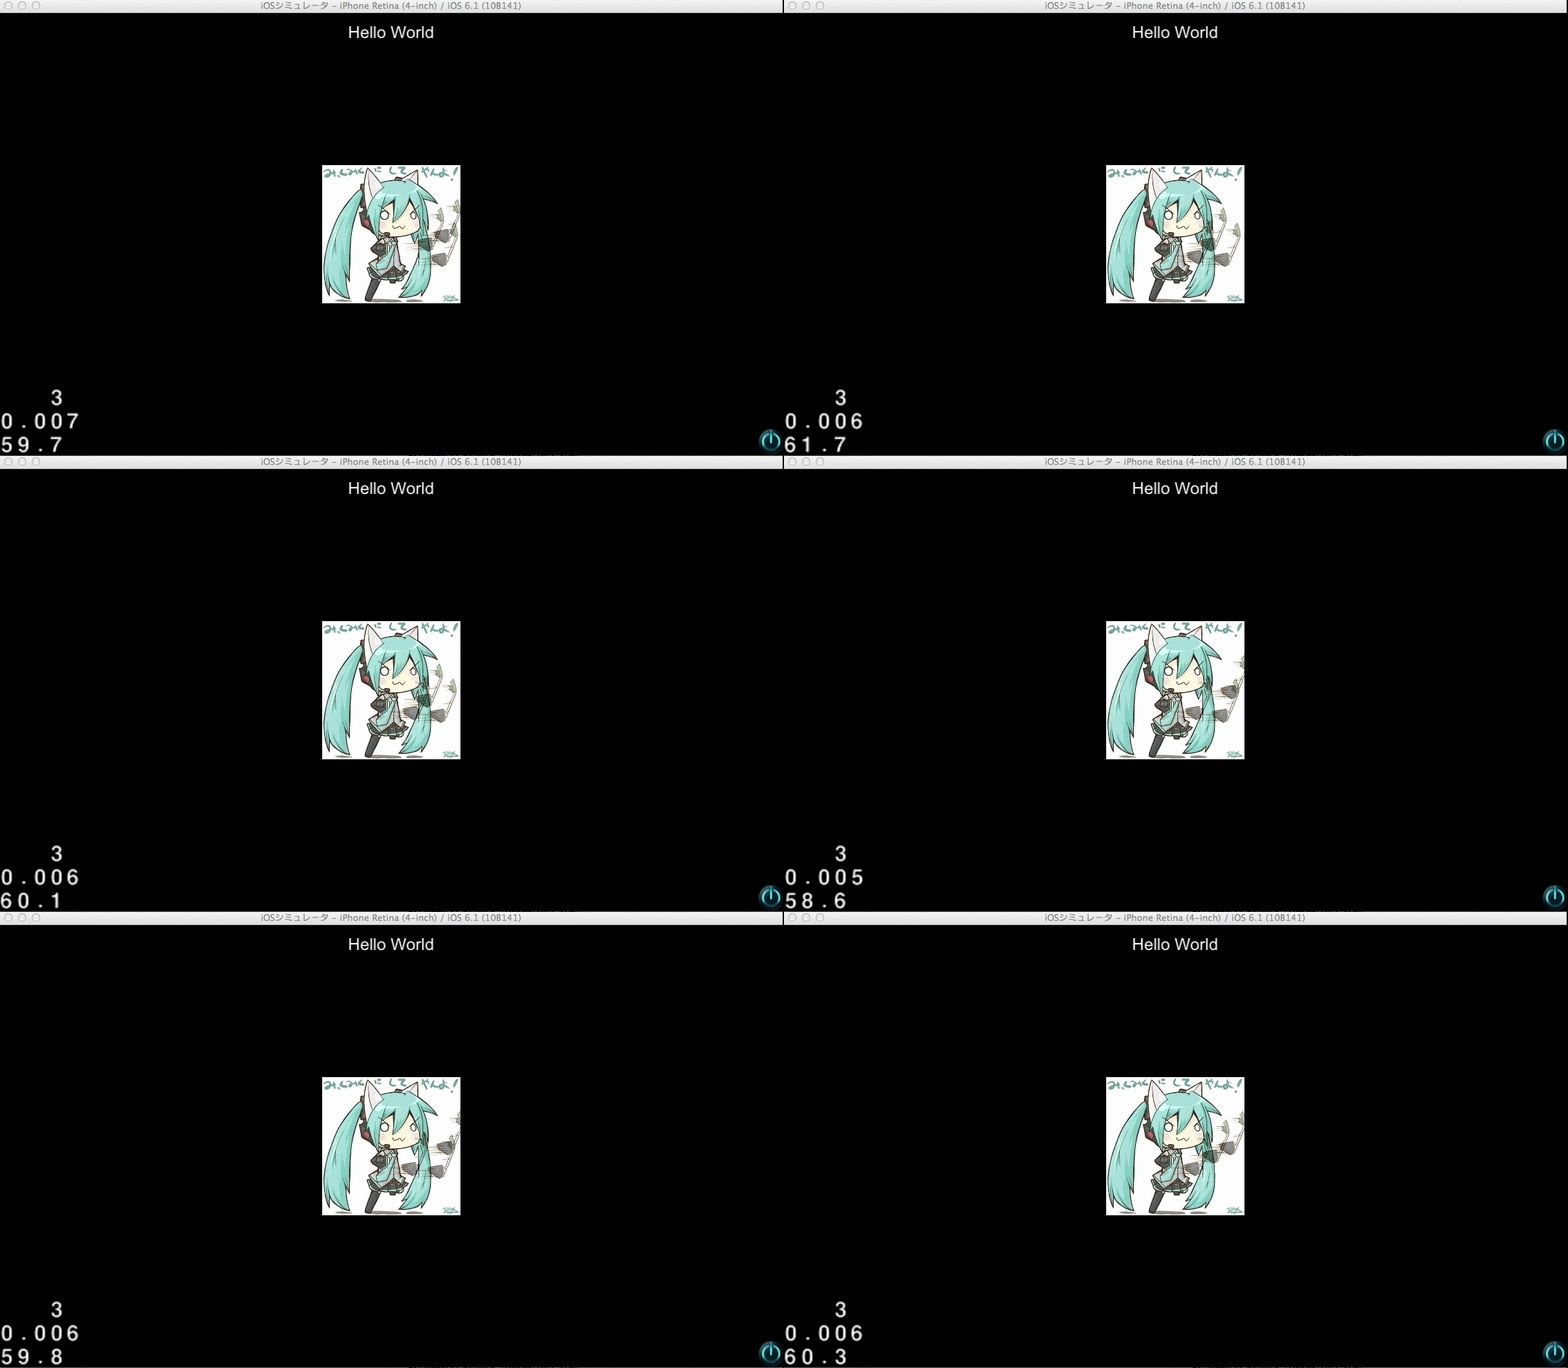
動作イメージ

今回のまとめ
アニメーション用の画像をどう表示すればいいのか手探りながら2パターン実験してみました。
他にもTexture Atlasなどの手法があるようですが、そちらはそれ単体で記事が書けそうなので別の機会に譲らせてください。
今回の2パターンそれぞれに、どのようなメリットがあって、どのようなデメリットがあるのか、自分はまだよく分かっていません。
そのあたりは実践で掴んでいくしかないのかなと思っています。
次回に向けて
次回は、「アニメーション機能を試してみる」を行ってみたいと思います。
ソースコード
https://github.com/8823-scholar/cocos2d-x-study/commit/81f48b5d935a577de23b16d05e6f62b3088f9ac8
参考文献
-
[cocos2d-x アニメーションを実装する study cocos2dx](http://study-cocos2d-x.info/image/98/) - cocos2d-xでゲームを作ろう! 第三回 キャラクタ表示編
感謝です!

